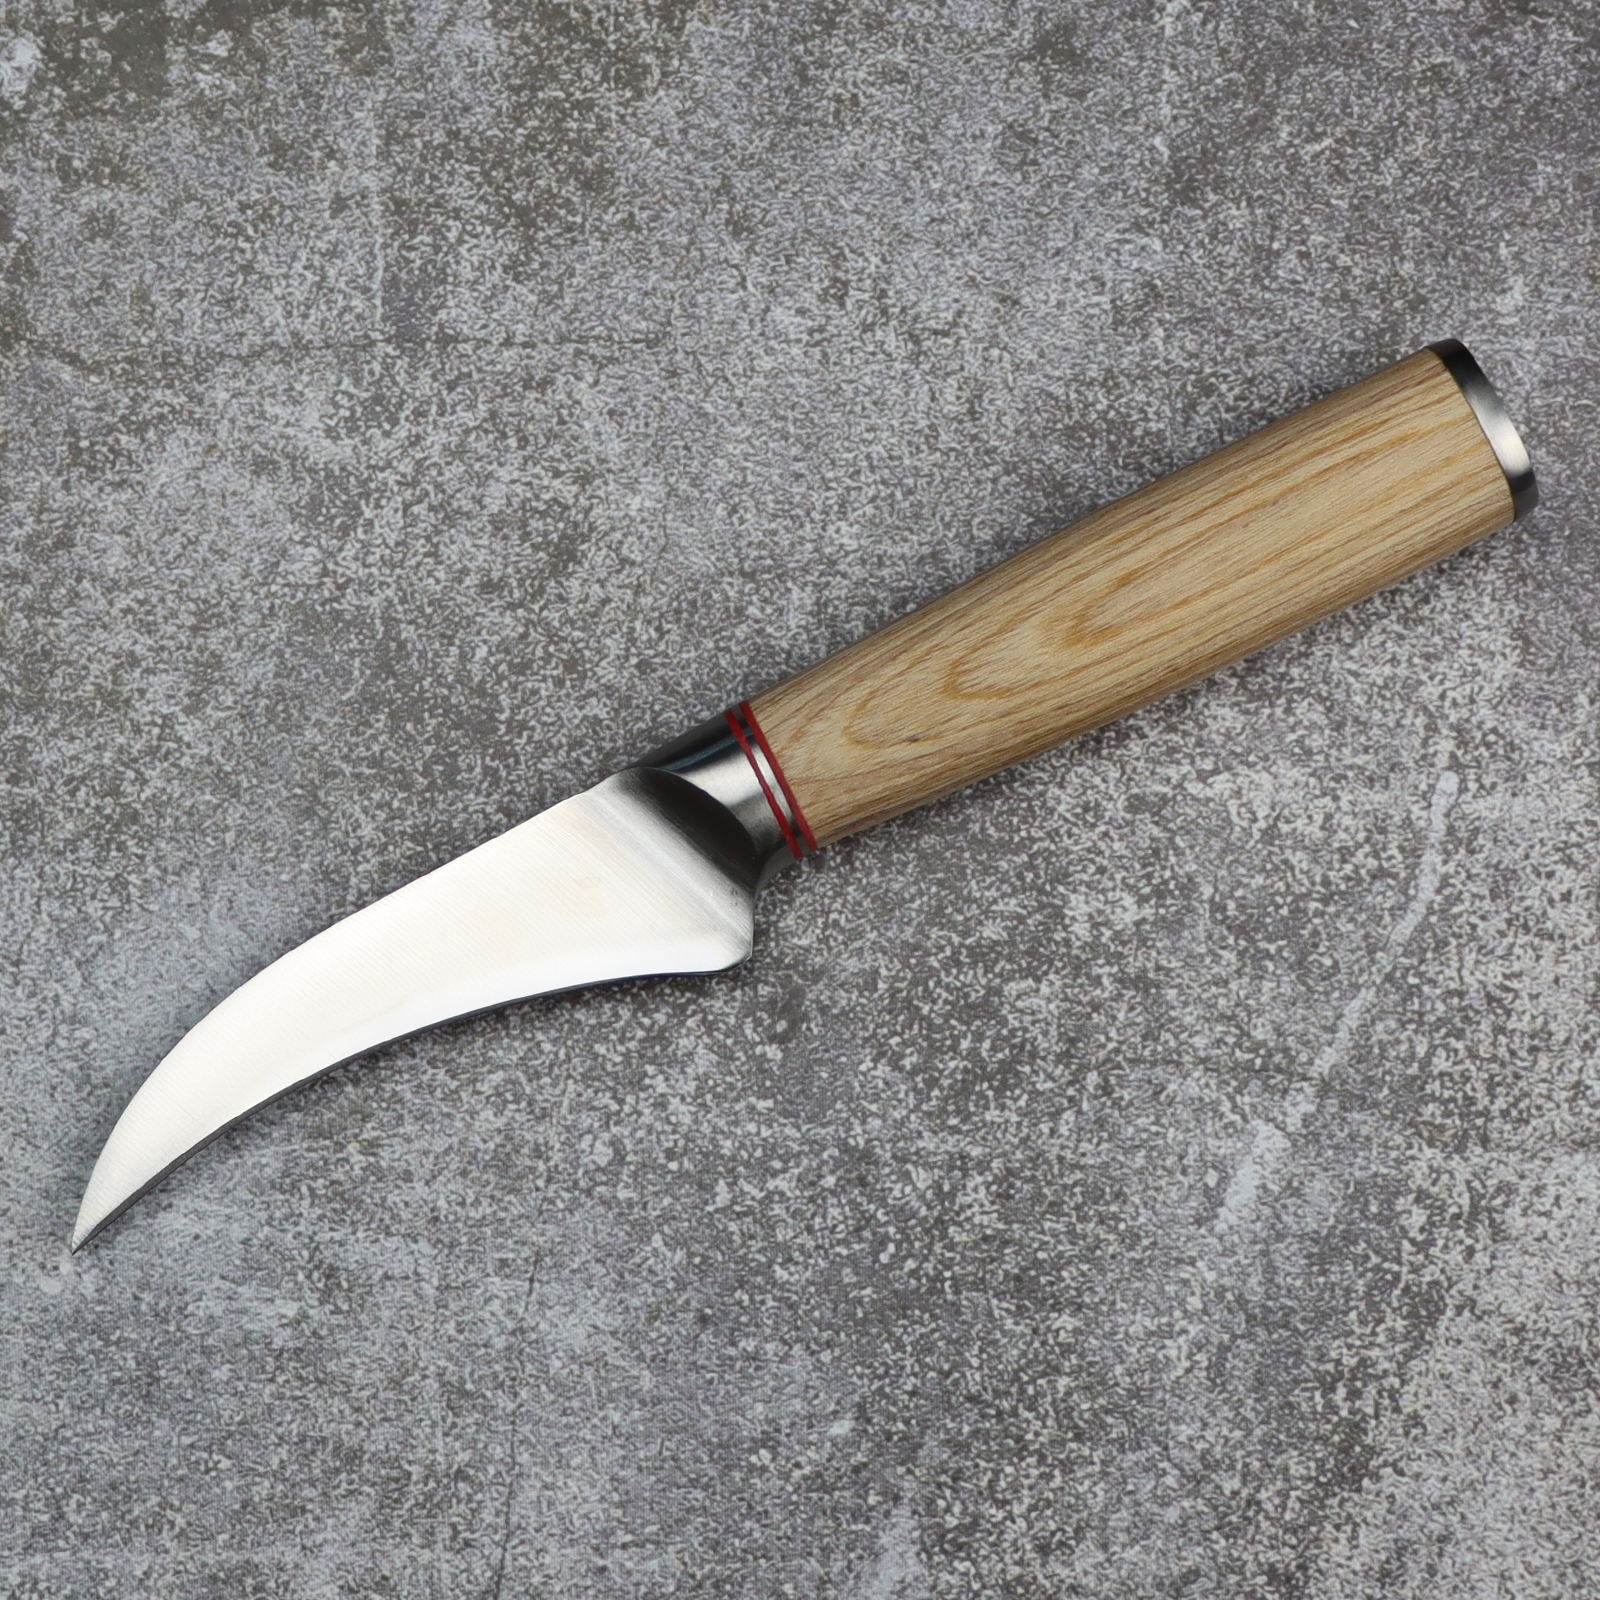
Everything You Need to Know About Stabilized Wood for Knife Handles
Jun 04,2024 | Fzkaly
On the market, Damascus chef knives with colored handles are becoming more and more popular, and perhaps you are also one of the enthusiasts. Maybe you just love it because of its visually unique appearance and don’t know why. This article will tackle this question.

Currently, most colored knife handles are made of stabilized wood, which is why there are so many color choices. So the question is, what is stabilized wood? How is it made?
What is Stabilized Wood?
Stabilized wood is a high-density wood that has been specially treated to give it a unique texture and gorgeous color.
The principle of the stabilization process is that the wood is cured by using a vacuum pump to extract the air from the wood, and then filling the voids with resin and dye to change the properties of the wood from softwood to high-hardness wood.
What are the Advantages of the Stabilized Wood?
1. More moisture resistant, durable
It is more moisture resistant and durable than untreated wood, and is less likely to warp, splinter or crack. Because the stabilization process changes the properties of the wood, it can be used longer.
2. Visually elegance
During the stabilization process, different dyes are added and the color of the wood itself is changed using a special dyeing method. This color is basically permanent and will not fade. Ordinary dyed wood will change color or turn yellow or rot over time, but stabilized wood will not.
3. Unique grain
Most stabilized wood has natural textures that are formed over the years, so it is impossible to have exactly the same pattern. If you want to make a special color, you can add your favorite dye.
What are the Disadvantages of Stabilized Wood?
1. High scrap rate and low finished product rate
There are two main reasons:
First, the production process of stabilized wood looks simple, but it is very complicated to make. The wood must be dried first, then cured, and the air inside must be pumped out with a vacuum pump. After drying, some dyes and resins are poured into the wood, and then the wood pattern is highlighted. Color matching is very important. If the color matching is not good, the wood will look dull and ordinary, and the pattern will not be prominent, and the wood will be scrapped. Every step of the processing is important. If one step is wrong, it cannot be used.
Second, after processing, the wood can be made into the desired shape, but wood is wood after all. Although it has been cured, some characteristics of wood still exist. During the production process, if it encounters water or sun exposure, the wood will be directly scrapped. Moreover, the wood is a one-time finished product. It cannot be restored to a whole piece of cured wood after cutting. Therefore, once the cutting is careless and causes size deviation, it cannot be reused and the wood will be scrapped.
2. Expensive
Stabilized wood is generally made of older maple or birch, which is very difficult to harvest and needs to be harvested deep in the mountains. It may not be possible to find a suitable tree among 100 trees, so it is expensive. As mentioned above, the complicated process also leads to high prices.
How is Stabilized Wood Made?
Make preparation, before you start stabilized process, you have to prepare these tools:
1. Vacuum chamber
The vacuum chamber is used to evacuate wood and make the stabilizing agent penetrate into the center of the wood. When there is no professional vacuum chamber, it can also be a standard pressure tank or a transparent sealed box made of acrylic.
2. Stabilizing agent
3. Oven
Some epoxy resins or thermosetting stabilizers need to be cured at the appropriate temperature.
4. Air pump
5. Pressure tank
For professional stabilization, a pressure tank is also required. If the stabilizer cannot enter the wood in the vacuum chamber, high pressure is required to get the stabilizer into the center of the wood. How much pressure is needed depends on the density of the wood.
The first step is to use an oven to dry the wood to remove moisture until the moisture content is less than 3%, but be aware that some wood will crack if the moisture content is too low, so try several times.
The second step is to put the wood and stabilizer in a vacuum chamber. The wood soaked in the stabilizer will bubble. Generally, it is best to do it for more than 30 minutes until there are no bubbles. In this process, if the stabilizer cannot completely penetrate the wood, a pressure tank can be used to help. (Especially for coloring ~ pump once and press once).
The third step is to drain the wood and wrap it in foil and put it in the oven. Bake at a constant temperature of 120-130°C for 10-15 minutes, depending on the size of the wood. Larger wood will take longer to dry, a process called heat curing.
The fourth step is to sand the stabilized wood into the shape you want.
After reading, hope you figure out why some knife handles are unique and attractive. It relates to it’s materials — stabilized wood.
If you are interested in kitchen knives with stabilized wooden handles, you can check out our related products at Fzkaly.
This is the sharpest and most durable Damascus chef knife we have ever made. It combines Japanese steel with a polished Damascus blade! This chef knife offers you the best quality in terms of materials used and design. Learn more: 8 Inch Japanese VG10 67 Layers Damascus Chef Knife.


